Engineering > Experiment > LAB 3 Objective: (All)
LAB 3 Objective:
Document Content and Description Below
LAB 3 Objective:
LAB 3
Objective:
Use Tinkercad to construct a circuit that controls the rotation of a DC motor.
Equipment:
Procedure:
1. To perform this lab, please go the Tinkercad tutorials first. The tutorial
...
[Show More]
Last updated: 3 years ago
Preview 1 out of 13 pages
Instant download

Buy this document to get the full access instantly
Instant Download Access after purchase
Reviews( 0 )
Document information
Connected school, study & course
About the document
Uploaded On
Oct 25, 2022
Number of pages
13
Written in
All

Additional information
This document has been written for:
Uploaded
Oct 25, 2022
Downloads
0
Views
170
Document Keyword Tags
Recommended For You
Get more on Experiment »
$25
136 Pages
Radar Systems Analysis and Design Using MATLAB, 4e by Bassem M...

$25
147 Pages
Interplanetary Astrodynamics, 1st Edition by David Spencer, Da...
$22
456 Pages
SOLUTIONS MANUAL for Non Linear Dynamics and Chaos With Applic...

$22
317 Pages
Solutions Manual for Control Systems Engineering, 8th Edition...
$26
157 Pages
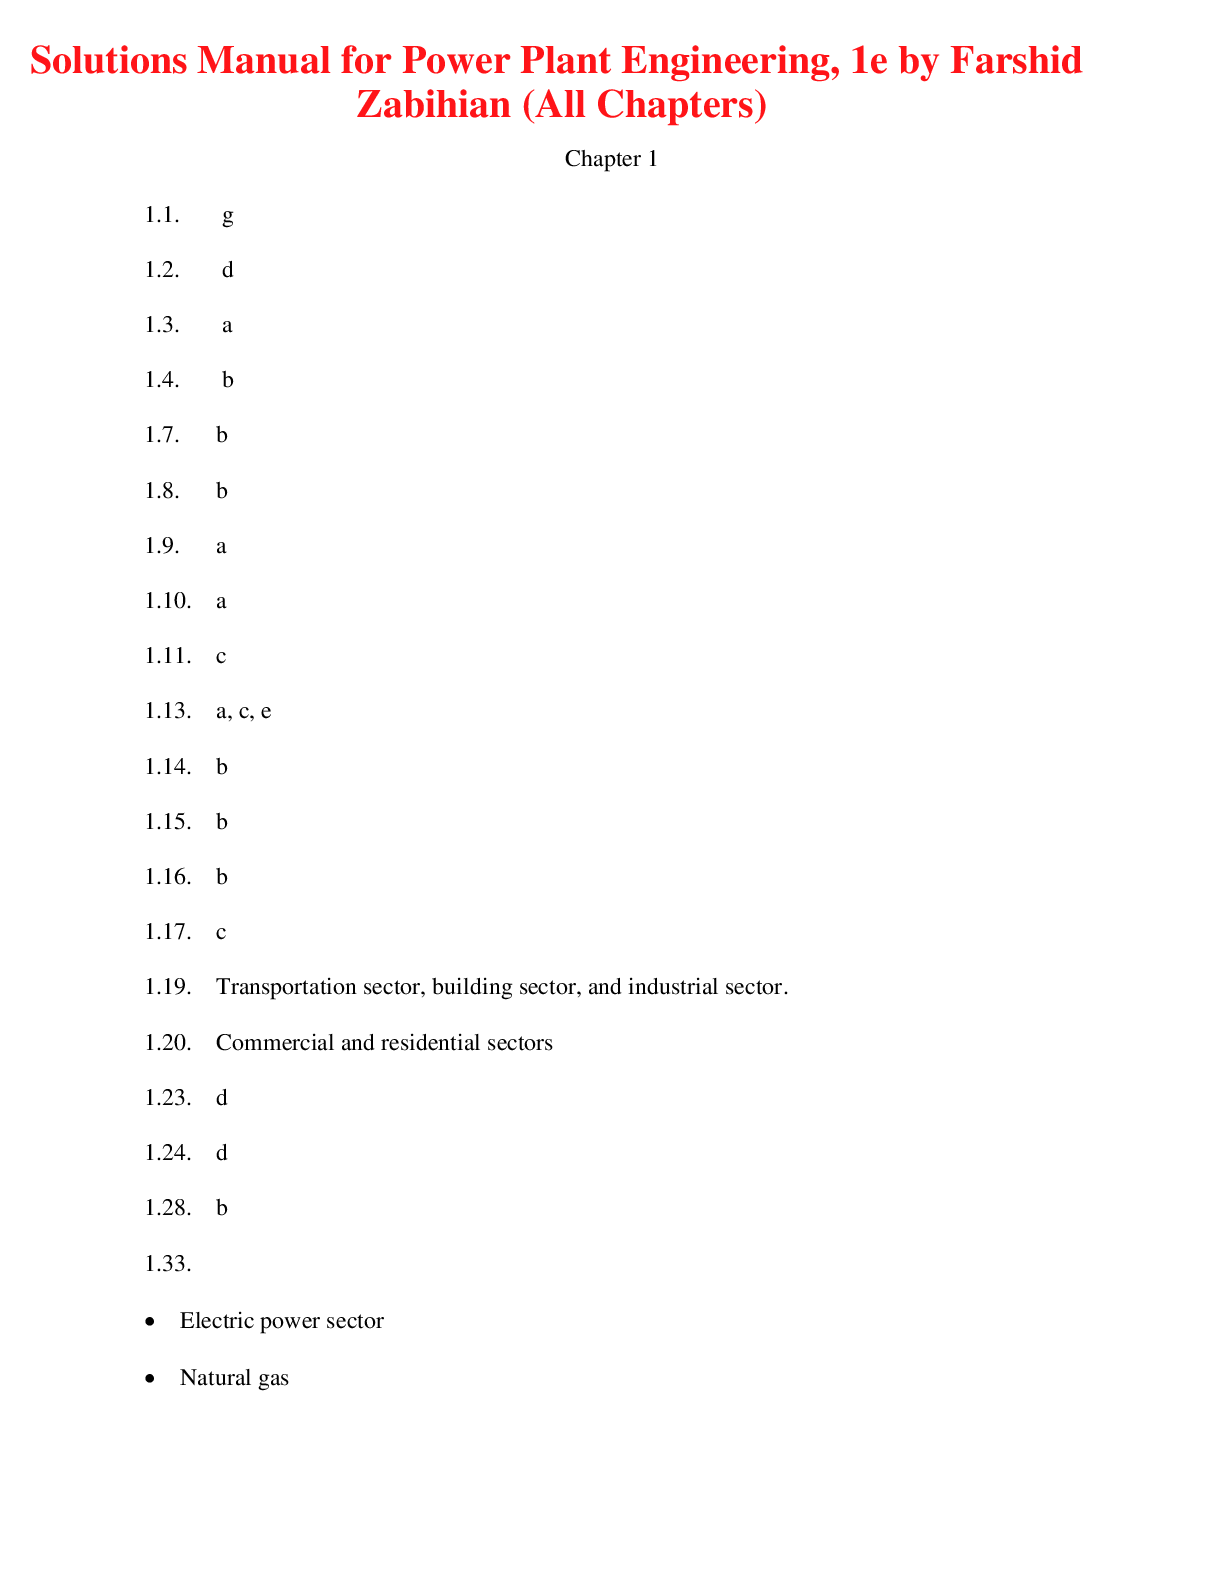
Power Plant Engineering, 1e by Farshid Zabihian (Solutions Man...

$25
66 Pages
Undergraduate Instrumental Analysis, 8e by Thomas Bruno, James...
, 1e by Cristiane Surbeck, Jeff Kuo.png)
$25
62 Pages
Site Assessment and Remediation for Environmental Engineers (F...

$25
189 Pages
Physical Principles of Plasma Physics and Engineering, 3e by A...

$25
302 Pages
Modeling of Dynamic Systems with Engineering Applications, 2e...

$25
105 Pages
Introduction to Materials Science and Engineering, 2e by Yip-W...

$25
67 Pages
Introduction to Electrochemical Science and Engineering, 2e by...

$25
179 Pages
An Introduction to Sonar Systems Engineering, 2e by Lawrence Z...
, 1e by Fariborz Tayyari.png)
$25
61 Pages
Cost Analysis for Engineers and Scientists (Manufacturing and...

$25
148 Pages
Computer Methods in Chemical Engineering, 1e by Nayef Ghasem (...

$25
111 Pages
Computational Fluid Dynamics for Mechanical Engineering, 1e by...

$25
58 Pages
Basic Fracture Mechanics and its Applications, 1e by Ashok Sax...

$25
376 Pages
Applied Strength of Materials, 7e by Robert Mott, Joseph Unten...
$25
56 Pages
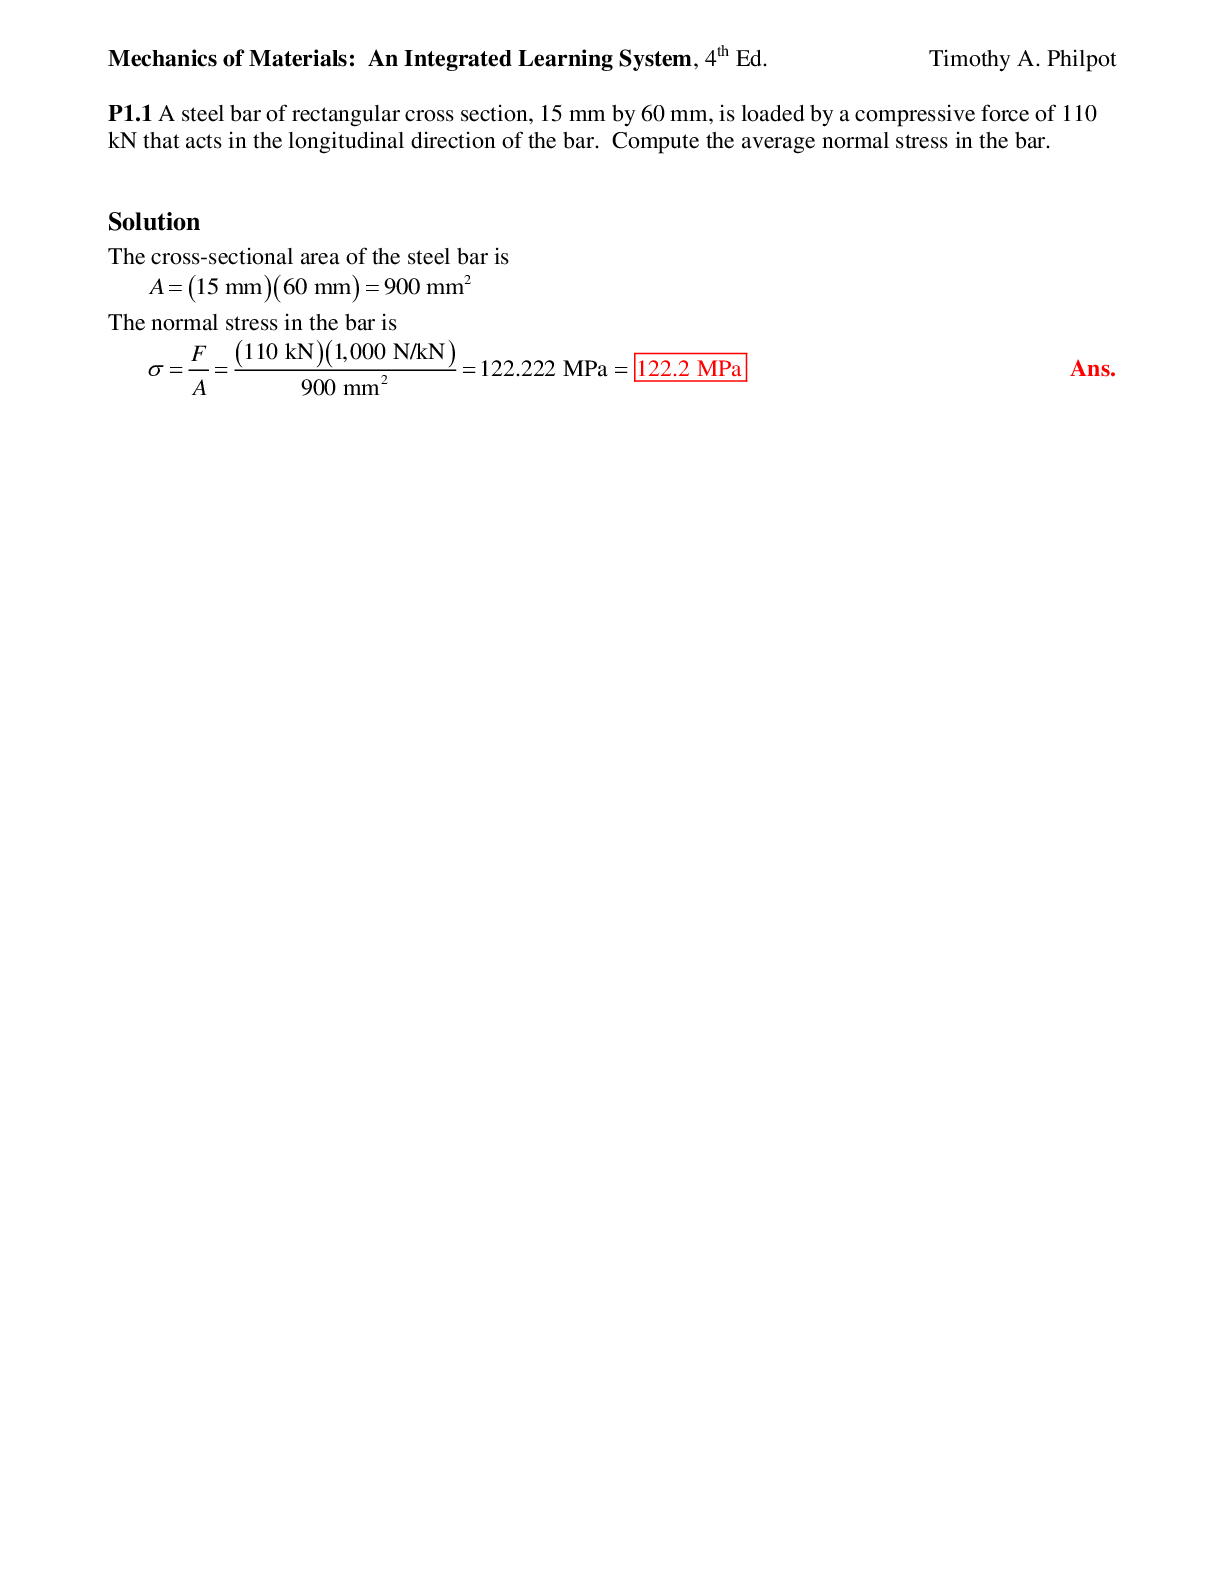
Mechanics of Materials An Integrated Learning System, 4e Timot...
.png)
$25
532 Pages
Electrochemical Engineering, 1e Thomas Fuller (Solutions Manua...
$25
116 Pages
Analysis and Design of Shallow and Deep Foundations 1e Lymon R...
More related documents below

